

HOW TO CHANGE YOUR CARS OIL LEVEL: EXPERIENCED
- Dunsmuir Hardware

- Mar 22, 2020
- 4 min read
The most important routine maintenance you can perform on your vehicle is to change the oil regularly. You don't have to rely on quick-lube shops or mechanics. You can do it yourself, save money and get it done right. Keep reading to find out how.

CHANGE IS GOOD Routine oil changes are critical if you want to keep your vehicle running. Over time, oil degrades and provides less lubrication to sensitive metal engine parts, which can seize up due to friction and heat in the engine. This leads to more stress on the engine, damage and potential early failure. Changing the oil also removes older oil that has begun to collect dirt, debris and other contaminants. As the old oil travels throughout the engine, it spreads debris, which can build up over time in the engine and leave your engine running inefficiently. While the oil filter is designed to guard the engine from these types of particles, debris can begin to “clog” the filter, causing engine inefficiency. Basically, the cleaner your engine is, the longer it will last. In addition, a cleaner, more efficient engine gets better gas mileage, which can ultimately save you money. Another way to keep more money in your pocket is to learn how to change your oil yourself. Refer to your owner’s manual for the manufacturer’s recommended oil type, capacity, filter type, and oil change intervals. Traditionally, it has been recommended that you change the oil every 3,000 miles or 3 months, but oil life can be extended, depending on the car and the type of oil used. Helpful Tip Remember to check your oil regularly to ensure that it's not too low and to note any changes in consistency or color. Clean oil is a light, golden brown color while older, used oil is dark brown or almost black. Keep an eye out for any warning lights. If you see a “Check Oil” light appear, don’t ignore it. It could mean something is not working properly and should be looked at as soon as possible. Also, keep an eye out for smoke from your exhaust or any small pools of oil that collect under your vehicle when it is parked.
HOW TO CHANGE YOUR OIL While more and more drivers rely on quick-lube shops or their mechanic, completing a do it yourself oil change is relatively simple. Your local True Value hardware store will have the motor oil, oil filter and anything else you need to do it yourself. While the process might vary from car to car, this is a general guideline of how to change your oil.
Step 1: Ramp It Up
Find a level spot to work, whether it’s your garage or driveway, etc. — you just want to decrease any chance of the car rolling off of the ramps. Be sure also that you have plenty of room with which to work. Drive your car around the block to warm up the oil and then up onto a set of car ramps. Be sure that your car is securely on the ramps in “park” and ensure that the emergency brake is on. Turn off the engine.
Safety Alert! Never start a car while someone is working underneath it. If possible, have someone around to assist you or otherwise be around in case of an emergency.
Helpful Tip Invest in some wheel blocks for the rear wheels for added safety when the vehicle is on-ramps.


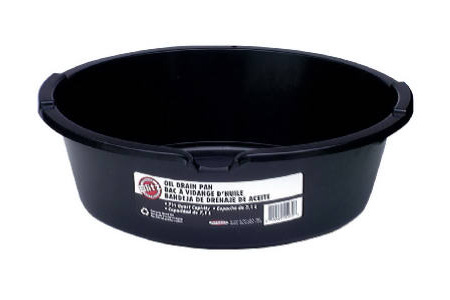


Step 2: Drain Old Oil Crawl underneath the vehicle and place some newspaper (in case of spills) and an oil drain pan under your car’s oil reservoir plug and unscrew the plug with a socket wrench. The old oil will drain into the drain pan. Safety Alert! Because you drove the car around, the oil may be hot. Wear work gloves when draining the oil to protect your hands from potential burns. When the oil has drained, unscrew and remove the old oil filter, using an oil filter wrench. Screw the plug back in and gently tighten it using the socket wrench. Remove your new filter from its box and put a thin film of new oil on its rubber seal using a gloved finger. Then, screw it into place by hand where you removed the old one.
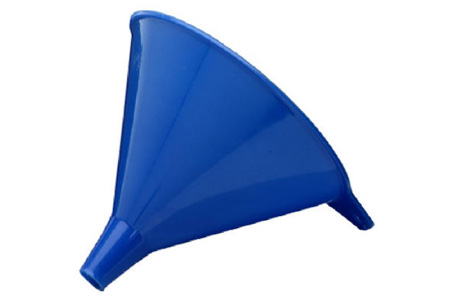
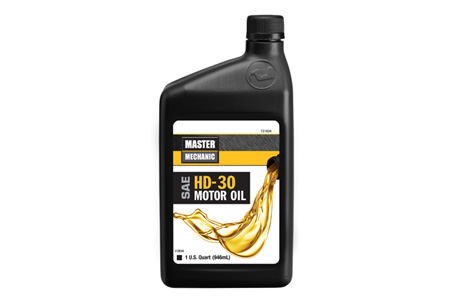
Step 3: Fill with New Oil Crawl back out from under the car and remove the oil cap under the hood. Pour the recommended amount of new oil for your vehicle into the reservoir, using a funnel. Be careful not to overfill it. Close the cap.
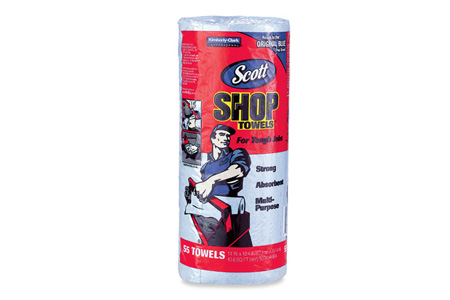
Step 4: Check Oil Level Close the hood, remove the wheel blocks and carefully drive the car down from the ramps. Let the car run for about 5 minutes and then shut it off. Let the oil settle for a few minutes and then check the oil level with your dipstick to be sure that you’ve got just the right amount. If you poured too much oil in, you will have to drain the excess into an oil pan the same way you drained the used oil. Wipe away the oil from the dipstick with a shop towel each time you pull it out before re-inserting it to check it again. Check under the car for any signs of leaking oil.
Step 5: Finish Up To finish up your DIY oil change, you can use a funnel to pour the used oil from the drain pan into the empty bottles from the new oil when you’re done. Dispose of used oil and the old oil filter properly. Never pour used motor oil down storm drains, waterways or onto the ground. The oil can seep into the ground or the local water table and affect the environment. Check with your local municipality to find out where you can take the oil for recycling.
Great work! Your DIY oil change is complete. As long as you keep your oil changed regularly and take care of your vehicle, it will take care of you.
Here's an unrelated tip: Dunsmuir Hardware is for Sale! The present owners have operated the store for over 40 years and are ready to pass it on to a new owner who appreciates how special it is. Want to learn more about this amazing business opportunity?
We’re open from 8:30 am to 5:30 pm Monday to Saturday and 10:00 am to 4:00 pm on Sundays. Come and see us we’re at 5836 Dunsmuir Avenue Dunsmuir, California, or call (530)235-4539.

#DunsmuirHardware #businessopportunity #hardwarestore #forsale #businessforsale #truevalue #northerncalifornia #norcal #opportunity #dunsmuir #entrepreneur #seesiskiyou #discovernorcal #nature #change #familybusiness #california #diy #project #color #garden #potd #blog


Comments